How to Install Brick Stairs: Top Guide for 2025!
When thinking about how to install brick stairs, consider not just the aesthetics but also their practical applications. Brick stairs can significantly improve a home’s curb appeal and complement a variety of architectural styles. They ensure a strong first impression, welcoming guests with both durability and charm.
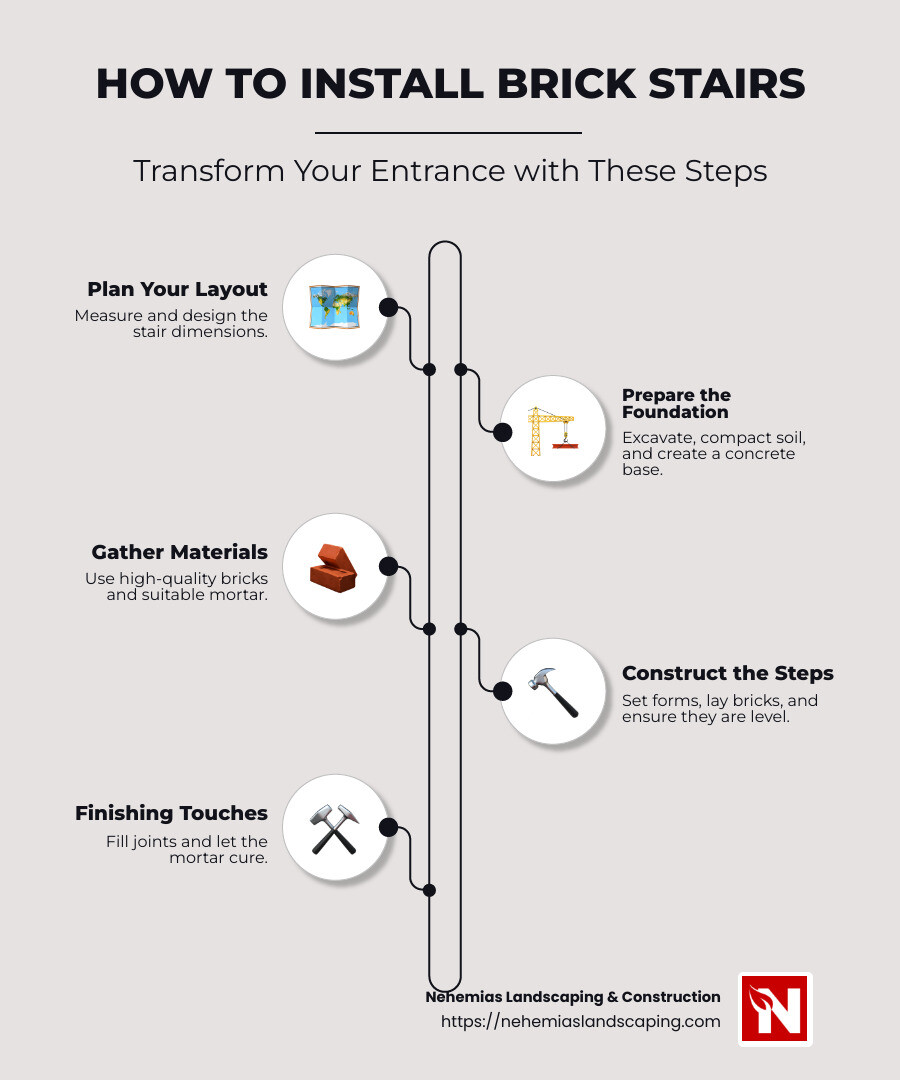
To start, here’s a quick guide:
- Plan Your Layout: Measure and design the stair dimensions.
- Prepare the Foundation: Excavate, compact soil, and create a concrete base.
- Gather Materials: Use high-quality bricks and suitable mortar.
- Construct the Steps: Set forms, lay bricks, and ensure they are level.
- Finishing Touches: Fill joints and let the mortar cure.
Installing brick stairs doesn’t just beautify your home’s entrance; it showcases thoughtful design and skilled craftsmanship. Whether you’re drawn to the classic appeal of clay bricks or prefer the sleek lines of modern design, brick stairs serve as a functional, attractive feature. By following these essential steps, you can successfully transform your outdoor space and create a lasting first impression.
Preparing the Foundation for Brick Stairs
A strong foundation is the backbone of any successful brick stair installation. Let’s explore the key steps to ensure your stairs stand the test of time.
Sub-base
The sub-base is the first layer in building sturdy brick stairs. It acts as a supportive cushion for the weight above. A popular choice is MOT Type 1, a mix of crushed rock and fines. This material compacts well, creating a stable platform.
Tip: Spread MOT Type 1 evenly and compact it thoroughly using a tamp or rammer. This prevents future shifting and ensures your stairs remain solid.
Concrete Layer
Once the sub-base is compacted, it’s time for the concrete layer. This layer adds extra stability to your brick stairs. You have two options:
- Concrete Layer: Pour a 50mm (about 2 inches) layer of concrete over the compacted sub-base. This forms a smooth, even surface for the bricks.
- Concrete Flags: Alternatively, set concrete flags on mortar for a robust foundation.
Pro Tip: Before the concrete sets, do a dry run with your bricks. This helps you check levels, spacing, and overall layout.
Cement Foundation
The cement foundation is crucial, especially in areas with fluctuating weather. It provides extra support and prevents the stairs from settling over time. This foundation should extend below the frost line, which is the depth at which the ground freezes in winter. This prevents damage from freeze-thaw cycles.
Case Study: In North Carolina, a homeowner ensured their brick stairs remained intact by extending the foundation below the frost line. This proactive step saved them from costly repairs later on.
By carefully preparing the foundation, you lay the groundwork for durable, beautiful brick stairs. Up next, we’ll explore the step-by-step process of laying the bricks themselves, ensuring a smooth and level finish.
How to Install Brick Stairs
Building brick stairs can improve the charm and functionality of your outdoor space. Here’s a simple guide on how to install brick stairs effectively.
Laying the First Brick Step
Start by setting the riser brick and tread brick. These are the vertical and horizontal bricks that form each step.
- Mortar Bed Preparation: Begin by spreading a 3/8-inch thick layer of mortar on the tread area, where the bricks will sit. Use a mason’s trowel to apply the mortar evenly.
- Positioning the First Brick: Place the first brick at the back of the step. Tap it gently with the end of the trowel handle to settle it into the mortar bed. This ensures a firm grip and stability.
- Leveling: Use a screed and a level to ensure the brick is perfectly even. This prevents uneven steps, which can be a tripping hazard.
- Continue the Process: Lay additional bricks, maintaining consistent spacing with 1/2- or 3/8-inch plywood spacers. This helps keep the bricks aligned and uniform.

Layering and Aligning Bricks
Once the first step is in place, it’s time to build up the rest of the stairs.
- Mortar Application: Apply a fresh layer of mortar on the previous row of bricks. Consistency in thickness is key to maintaining even steps.
- Brick Patterns: Choose a pattern that complements your style. Popular choices include running bond or herringbone patterns. Doing a dry layout before applying mortar can save time and prevent mistakes.
- Using Spacers: Place spacers between bricks to keep gaps uniform. This ensures that your steps look neat and professional.
- Leveling Each Row: As you lay each row, continuously check for level. This ensures that the steps are even and safe to use.
- Remove Spacers: Once the bricks are set, carefully remove the spacers. Fill the joints with mortar later for a smooth finish.

By following these steps, you ensure your brick stairs are both sturdy and visually appealing. Next, we’ll tackle the finishing touches that will give your stairs a polished look.
Finishing Touches for Brick Stairs
The final steps in building your brick stairs are crucial for both aesthetics and durability. Here’s how to give your stairs a polished finish with joint filling, smoothing, and curing.
Joint Filling
After laying all the bricks, it’s time to fill the joints. This not only secures the bricks but also improves the look.
- Mix Fresh Mortar: Prepare a fresh batch of mortar. It should be smooth and workable, like peanut butter.
- Use a Mortar Bag: Fill the joints with mortar using a mortar bag. This tool works like a pastry bag, allowing you to squeeze mortar precisely into the gaps.
- Ensure Full Coverage: Make sure all joints are completely filled. This helps lock the bricks in place and prevents water from seeping in.
Smoothing the Joints
Once the mortar begins to firm up, smoothing the joints will give your stairs a professional finish.
- Start with Horizontal Joints: Use a jointing tool to smooth the horizontal joints first. This helps rainwater flow off the stairs easily.
- Then Vertical Joints: Follow with the vertical joints. This sequence ensures water doesn’t get trapped in the joints.
- Wipe Excess Mortar: Use a wet burlap cloth to wipe away any excess mortar from the brick surfaces. This keeps the bricks clean and highlights their natural beauty.
Curing Time
Proper curing is essential for the strength and longevity of your brick stairs.
- Let it Set: Allow the mortar to cure for five to seven days before using the stairs. This time is necessary for the mortar to reach its full strength.
- Keep Mortar Moist: Lightly mist the mortar with water during the curing period. This prevents it from drying too quickly and cracking.
By paying attention to these finishing touches, your brick stairs will not only look great but will also stand the test of time. Now, let’s move on to some common questions about brick stair installation.
Frequently Asked Questions about Brick Stair Installation
What do you put under brick steps?
Before you even think about laying bricks, you need a solid base. This starts with a sub-base, typically made from MOT Type 1 material. This is a mix of crushed rock and fines that compacts well. You spread it evenly across your excavated area and compact it thoroughly. This step is crucial to prevent your stairs from shifting over time.
On top of the sub-base, you add a concrete layer. This is usually about 50mm thick and provides a stable surface for laying bricks. It helps distribute weight evenly and prevents bricks from sinking.
Finally, a mortar bed is applied to set the bricks. This layer ensures the bricks stick properly and stay level.
What is the foundation for brick steps?
The foundation is the backbone of your brick steps, and it starts with the cement foundation. This foundation must be below the frost line to prevent heaving from freeze-thaw cycles, which can cause cracks and instability. The depth of the frost line varies by location, so check local guidelines.
After preparing the ground area, you lay the sub-base and concrete layer as previously mentioned. Together, these elements form a robust foundation that can withstand weather and weight without shifting.
What mortar to use for brick steps?
Choosing the right mortar is key to ensuring your brick steps are durable and long-lasting. There are different types of mortar, but for brick steps, Type N and Type S mortars are commonly used.
- Type N Mortar: This is a general-purpose mortar with good strength and flexibility. It’s ideal for above-grade applications and works well in areas with normal weather conditions.
- Type S Mortar: This mortar has higher strength and is suitable for below-grade applications or areas subject to harsher weather. It’s more durable and can handle more stress, making it a great choice if your stairs will see heavy use or extreme conditions.
By selecting the appropriate mortar, you ensure that your brick stairs remain strong and secure for years to come.
Now that we’ve covered the essentials of brick stair installation, let’s explore some common concerns and costs associated with this project.
Conclusion
At Nehemias Landscaping & Construction, we pride ourselves on delivering exceptional quality and craftsmanship in every project. Our team of experts is dedicated to changing your outdoor spaces into beautiful, functional areas that improve your home’s curb appeal. Whether you’re installing new brick stairs or renovating existing ones, our skilled professionals guide you through every step, ensuring a seamless and satisfying experience.
Quality Craftsmanship
Our commitment to quality craftsmanship means we pay attention to every detail. From selecting durable materials to employing precise construction techniques, we ensure that your brick stairs are not only visually appealing but also built to last. Our use of top-grade Type N and Type S mortars guarantees the strength and durability of your stairs, making them a reliable part of your home for years to come.
Outdoor Change
Installing brick stairs is more than just a construction project—it’s a transformative change for your outdoor environment. Well-designed stairs can serve as a stunning focal point, seamlessly connecting various parts of your landscape while enhancing accessibility. Whether leading to a garden, a patio, or your front door, brick stairs add elegance and functionality to your outdoor space.
If you’re ready to lift your home’s exterior with beautifully crafted brick stairs, we’re here to help. Our team at Nehemias Landscaping & Construction is eager to bring your vision to life with our expertise and dedication to quality.
Contact us for a free consultation and let us show you how we can transform your outdoor space with our brick stair installation services. We look forward to working with you to create a stunning and functional addition to your home.