Drip Irrigation System Installation: Top 10 Benefits 2025
Drip irrigation system installation is a simple and efficient way for homeowners to keep their gardens healthy and conserve water. Here’s how it works in a nutshell:
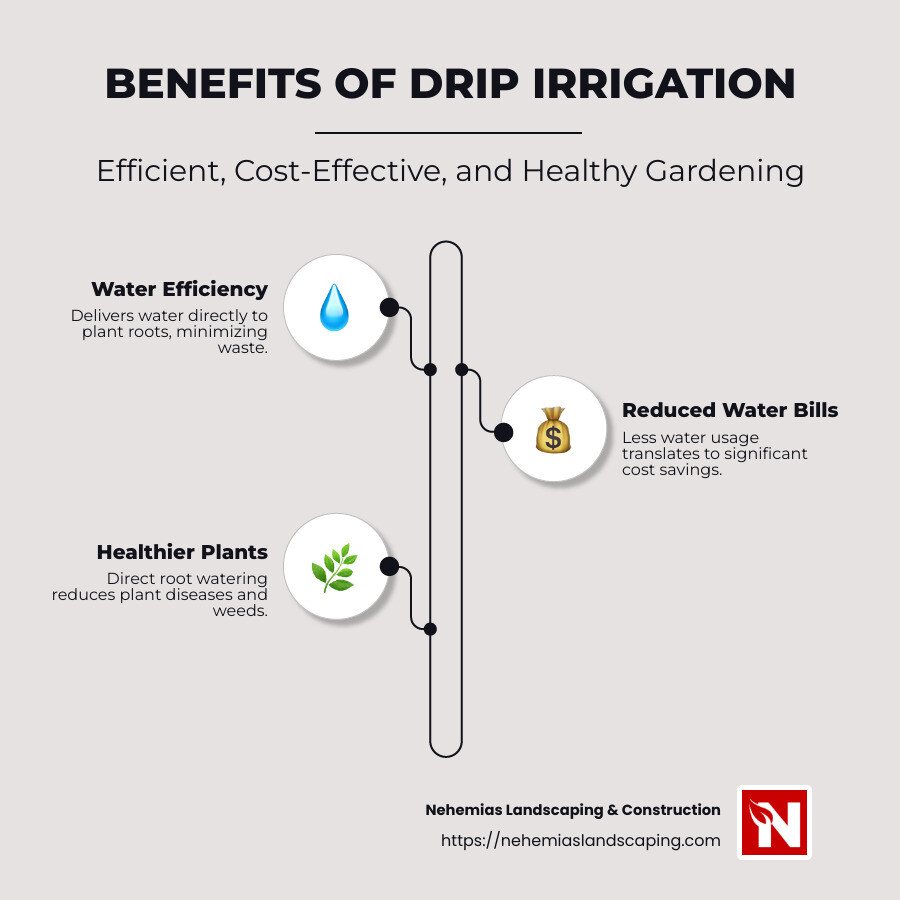
- Water Efficiency: Delivers water directly to plant roots, minimizing waste.
- Reduced Water Bills: Less water usage means saving money.
- Healthier Plants: Direct root watering reduces diseases and weeds.
- Automation: Can be set to work automatically, saving you time.
If you’re a busy suburban homeowner looking to transform your backyard, understanding the benefits of drip irrigation is crucial. This method not only promotes vibrant plant health but also offers significant water conservation benefits. Imagine enjoying a lush garden with minimized effort and water usage—drip irrigation makes this possible.
In recent years, with growing concerns about water scarcity and environmental impact, many are turning to sustainable solutions like drip irrigation. It’s a small change that can make a big difference in both your garden and your water bill. As Rehman, a farmer using this technology, expressed, “This farm would not have been possible without the drip irrigation system.”
For those eager to take a step toward a greener future, installing a drip irrigation system is a smart, practical choice.
Understanding Drip Irrigation Systems
Key Components
Drip irrigation systems are a brilliant solution for gardeners wanting to save water and maintain plant health. Let’s break down the essential parts that make these systems work effectively.
Backflow Preventer
A backflow preventer is crucial. It stops water from flowing backward into your home’s supply, preventing contamination. This piece ensures that your garden’s water stays clean and safe.
Emitters
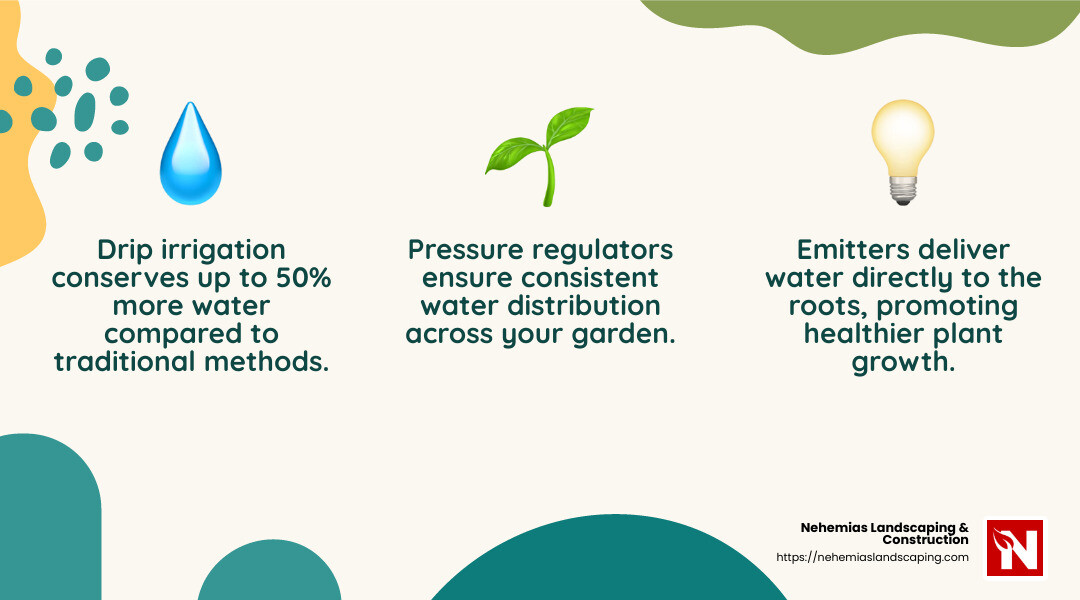
Emitters are like the unsung heroes of drip irrigation. They control how much water each plant gets by releasing it slowly and directly to the roots. This method helps plants absorb water efficiently, reducing waste and fostering healthier growth. Different emitters can be chosen based on plant needs and soil type.
Pressure Regulator
A pressure regulator is essential for maintaining consistent water pressure throughout the system. Without it, water might gush out too quickly or trickle too slowly, leading to uneven watering. Consistent pressure ensures that each plant gets the right amount of water, promoting even growth across your garden.
Cost-Efficiency and Versatility
Drip irrigation systems may seem like an investment, but they quickly pay off. Lower water bills and reduced plant loss can offset the initial setup costs. Plus, they are incredibly versatile. Whether you have a small garden or a large orchard, drip systems can be custom to meet your specific needs.
Versatility is one of the standout features of drip irrigation. You can use these systems for various landscapes, from vegetable gardens to flower beds. They can also be adjusted easily if you decide to expand your garden in the future.
A Real-World Example
In Pakistan, farmers like Rehman have transformed their farms using drip irrigation. With the help of this system, Rehman now sustains his 20-acre farm year-round, proving the system’s efficiency and adaptability even in challenging environments.
By understanding these components and their benefits, you’re well on your way to making informed decisions about installing a drip irrigation system for your garden. Next, we’ll dive into how to plan your layout effectively to maximize these benefits.
Planning Your Drip Irrigation Layout
Creating an efficient drip irrigation system installation begins with a solid plan. Let’s explore how to map your garden, calculate water needs, and consider soil types for the best results.
Garden Mapping
Start by sketching your garden. Include all plants, beds, and any hardscaping features like paths or patios. This map will guide your irrigation layout and help identify where water is needed most.
- Group plants with similar watering needs together. This makes it easier to tailor water flow to each group.
- Identify the nearest water source to minimize tubing length and potential pressure loss.
- Plan the main line route along the garden’s perimeter or central path, ensuring easy access to all plants.
Water Needs Calculation
Understanding your plants’ water requirements is crucial for a successful system.
- Research the needs of each plant type. Consider factors like soil type, sun exposure, and climate.
- Calculate the total water flow needed for your garden. This will help you choose the right emitters.
- Select emitters with appropriate flow rates to ensure each plant receives the right amount of water.
Future Expansion
When planning your layout, consider potential garden expansions.
- Leave room for additional lines or emitters. This flexibility allows you to easily integrate new plants without overhauling the entire system.
- Purchase extra materials like tubing and connectors to accommodate future changes.
Soil Considerations
Soil type greatly influences how water moves through your garden. Here’s how to adapt your system for different soils:
- Sandy Soil: Water drains quickly, so use closely spaced 2GPH emitters or micro-sprinklers. Space them 10-12 inches apart for even coverage.
- Loamy Soil: Holds water well, allowing for moderate spacing. Use 1GPH emitters spaced 16-18 inches apart.
- Clay Soil: Absorbs water slowly. Opt for .5 GPH or 1 GPH emitters spaced 18-24 inches apart to prevent waterlogging.
By taking these steps, you can design a drip irrigation system that meets your garden’s unique needs. With a well-planned layout, you’re set to install a system that conserves water and promotes healthy plant growth.
Next, we’ll explore the step-by-step process of installing your drip irrigation system, from connecting to the water source to laying out tubing effectively.
Drip Irrigation System Installation
Installing your own drip irrigation system can be a rewarding DIY project. With the right tools and materials, you can set up a system that keeps your garden lush and green. Here’s a simple guide to get you started.
Connecting to Water Source
Before you start laying out tubing, you need to connect your system to a water source. This involves a few key steps:
- Faucet Connection:
- Locate your outdoor faucet or dedicated irrigation valve.
- Attach a backflow preventer to the faucet. This stops water from flowing backward into your home’s supply, preventing contamination.
- Pressure Regulator:
- Connect a pressure regulator to the backflow preventer. This device ensures a consistent water flow, protecting the system from damage due to high pressure.
- Filter Installation:
- Attach a filter to the pressure regulator. This keeps debris from clogging the emitters, ensuring smooth operation.
- Finish by connecting a hose swivel to the filter’s opening. This allows the main tubing to connect easily and prevents kinks.
Laying Out Tubing
Once your water source is ready, it’s time to lay out the tubing. Follow these steps for a successful installation:
- Main Line Positioning:
- Start at the water source and unroll the ½-inch main tubing along your planned route.
- Leave some slack in the tubing to accommodate expansion and contraction from temperature changes.
- Connectors and Fittings:
- Use elbow connectors for sharp turns and tee connectors to branch off into different areas.
- Add end caps to seal any open ends of the main line.
- Ground Stakes:
- Secure the tubing with ground stakes every few feet. This prevents movement and keeps the layout intact.
- Be careful not to puncture the tubing when installing stakes.
With these steps, your drip irrigation system is well on its way to providing efficient water delivery to your plants. Next, we’ll explore how to maintain your system to ensure it runs smoothly year-round.
Maintaining Your Drip Irrigation System
Regular maintenance is key to keeping your drip irrigation system running efficiently. It ensures your plants get the right amount of water and helps avoid common problems. Let’s dive into some essential maintenance tips and common issues you might face.
Regular Inspection
Inspect your system monthly, especially during the growing season. Here’s what to look for:
- Damaged Tubing or Fittings: Walk through your garden and check for any visible damage. Repair any leaks or breaks immediately to avoid water waste.
- Clogged Emitters or Sprayers: These can reduce water flow to your plants. Remove them and soak in a vinegar solution to dissolve mineral buildup. Use a fine wire to clear any remaining debris before reinstallation.
- Plant Growth: Ensure plants haven’t overgrown or displaced parts of the system. Adjust emitter placement as needed.
Winterizing
In colder climates, it’s crucial to protect your system from freeze damage:
- Turn Off Water Supply: Cap the system inlet to prevent water from entering.
- Drain the System: Remove the filter and drain it completely. Open all drain valves and remove end caps to let out any remaining water.
- Compressed Air: Use compressed air to blow out water from the lines. This helps prevent freezing and cracking.
- Insulate Above-Ground Components: Use insulation materials to cover exposed parts.
Troubleshooting Common Issues
Even with regular maintenance, issues can arise. Here’s how to handle some common ones:
- Clogs: Regular flushing helps prevent these. If they occur, clean the emitters as described above.
- Leaks and Breaks: Cut out damaged sections and insert coupler fittings to reconnect the tubing. Always check for remaining leaks after repairs.
- Uneven or No Flow: This might be due to broken lines or clogged filters. Fix any broken lines and clean or replace the filter. Also, ensure you haven’t exceeded the maximum recommended flow rate.
By keeping an eye on these elements, your drip irrigation system will remain in good shape, ensuring your garden stays healthy and vibrant. Next, we’ll address frequently asked questions about drip irrigation to deepen your understanding.
Frequently Asked Questions about Drip Irrigation
What is the average cost for installing a drip irrigation system?
The cost of installing a drip irrigation system can vary depending on the size of your garden and the materials you choose. On average, a DIY installation starts at about $40. However, if you opt for professional installation, costs can increase due to labor and additional materials. That while there is an upfront cost, the system is cost-efficient in the long run. It reduces water bills and plant loss, making it a worthwhile investment for many gardeners.
What is the 30/30 rule for drip irrigation?
The 30/30 rule is a guideline to help ensure your plants receive adequate water. It suggests running your drip irrigation system for 30 minutes, then waiting 30 minutes before checking the soil moisture. This allows you to gauge if the water has reached the root zone. Adjust the watering duration as needed based on your soil type and plant requirements. This rule helps prevent overwatering and ensures efficient water use, especially important in water-scarce areas.
What is a major downside to drip irrigation?
While drip irrigation offers many benefits, it does come with some drawbacks. One significant downside is the potential for clogging. Emitters can become blocked by mineral deposits or debris, reducing water flow to plants. Regular maintenance, including cleaning emitters and filters, is necessary to keep the system functioning properly. Additionally, the initial setup can be time-consuming, especially if your garden has a complex layout. Despite these challenges, many find the advantages of water conservation and improved plant health outweigh the downsides.
Conclusion
At Nehemias Landscaping & Construction, we understand the transformative power of a well-installed drip irrigation system. Our team is dedicated to providing quality service that not only improves the beauty of your outdoor space but also ensures its functionality and sustainability. With our expertise, we help you conserve water, improve plant health, and ultimately create a thriving garden environment.
Our commitment to exceptional craftsmanship means that every project is executed with precision and care. From the initial design to the final installation, we work closely with you to bring your vision to life. Whether you’re looking to upgrade your backyard or start on a large-scale outdoor renovation, our skilled professionals are here to guide you every step of the way.
Transform your outdoor space into a stunning and functional environment with our help. Explore our Irrigation Systems Installation services and find how Nehemias Landscaping & Construction can make a difference in your garden. Let us bring your vision to life with our attention to detail and commitment to quality service. Contact us today to start your journey towards a more beautiful and efficient outdoor space.