DIY Flagstone Patio Installation: Top 10 Easy Steps!
DIY flagstone patio installation is a satisfying project that can transform your outdoor space into a tranquil retreat with natural elegance. In just a few steps, you can create a sturdy, beautiful patio without the need for professional help. Here’s a quick overview to get you started:
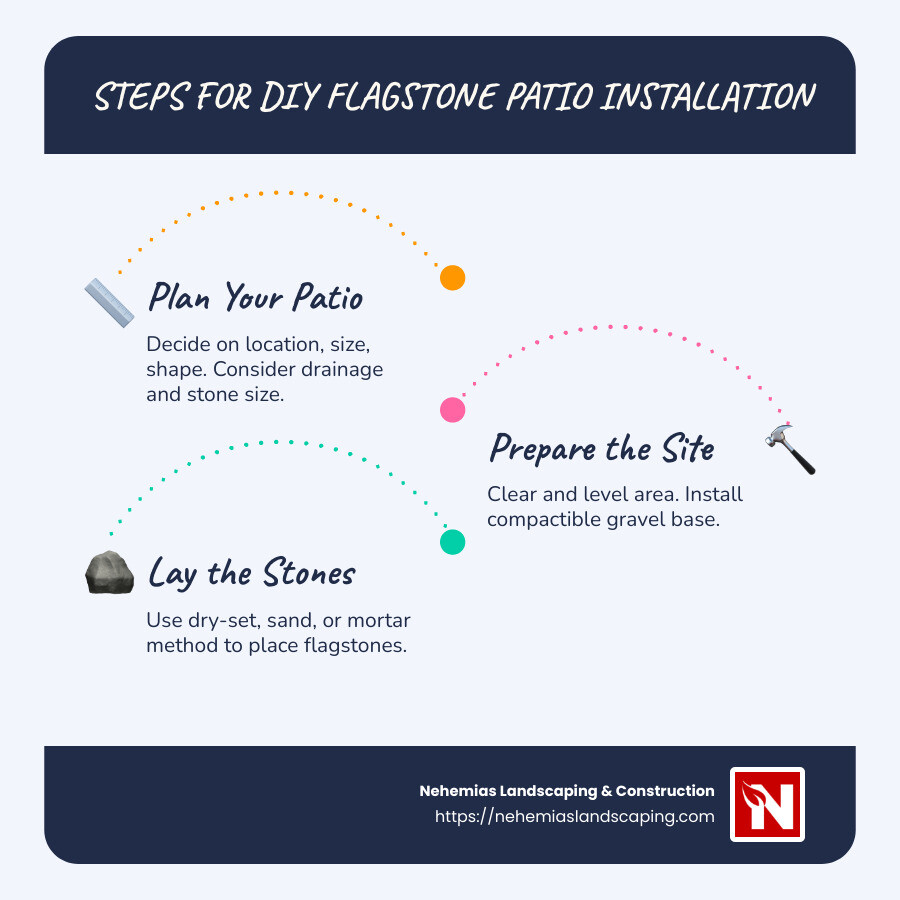
- Plan Your Patio: Decide on the location, size, and shape. Consider drainage and stone size.
- Prepare the Site: Clear and level the area. Install a compactible gravel base.
- Lay the Stones: Use the dry-set, sand, or mortar method to place your flagstones.
- Fill the Joints: Choose between builder’s sand, polymer sand, or mortar.
Flagstone patios are not only aesthetically pleasing but also durable and easy to maintain. This type of installation offers an outdoor living area that can be customized to fit your personal style and functional needs.
At Nehemias Landscaping & Construction, we are committed to helping you create lasting beauty in your backyard. Based in Essex County, Massachusetts, we provide expert advice and quality craftsmanship to ensure your DIY project is a success. Whether you’re looking for a cozy nook or a grand outdoor space, we’ve got you covered.
Diy flagstone patio installation vocab to learn:
– how to install a flagstone patio with grass joints
– how to install a flagstone patio with mortar
– labor cost to install flagstone patio
Planning Your Flagstone Patio
Patio Placement: The first step in any DIY flagstone patio installation is choosing the right spot. Think about how you’ll use the space. Is it for dining, relaxing, or maybe a garden feature? Consider the sun’s path and whether you prefer shade or sun. Also, think about accessibility from your house. A patio close to your kitchen is convenient for outdoor dining.
Size and Shape: The size of your patio should match your outdoor activities. If you love hosting barbecues, a larger area might be best. For a quiet reading nook, a smaller space will do. Shapes can vary from classic rectangles to freeform designs. Let your imagination guide you!
Grading: Proper grading is crucial to avoid water pooling. Your patio should have a slight slope, about 1/8″ drop per foot, for effective drainage. This ensures water flows away from your home, protecting your foundation.
Stone Size and Thickness: Bigger stones are easier to fit together but heavier and more costly. Thicker stones are more durable. For backyard patios, 1.5″-2″ thick stones are ideal. If you’re planning a driveway, opt for stones at least 2″ thick.
Irrigation Lines: Planning to add a water feature or fire pit? Install any necessary lines before laying the patio. This prevents the need to dig up your beautiful work later. Remember to “call before you dig” to avoid hitting existing lines.
Planning thoroughly ensures your flagstone patio not only looks great but functions well for years to come. At Nehemias Landscaping & Construction, we understand the importance of these details. We’re here to guide you through creating a stunning outdoor space that meets your unique needs.
DIY Flagstone Patio Installation
Creating a flagstone patio can be a rewarding DIY trip. Let’s explore three popular installation methods: dry-set, sand, and mortar. Each method offers distinct benefits, depending on the look and durability you desire.
Dry-Set Installation
The dry-set installation is a favorite for its simplicity and flexibility. This method involves setting flagstones on a base of compactible gravel and decomposed granite (DG). Follow these steps:
- Prepare the Base: Start with a layer of compactible gravel. Spread it evenly and tamp it down to create a stable foundation. Next, add a layer of decomposed granite. This helps with leveling and drainage.
- Leveling: Use a long, straight board and a carpenter’s level to ensure the surface is even. Adjust as necessary to maintain a slight slope for drainage.
- Lay the Stones: Begin placing the flagstones, fitting them like a puzzle. The irregular shapes can be challenging, but the result is a natural and unique look.
This method is ideal for those who want a rustic, natural appearance without the permanence of mortar.
Sand Method
The sand method offers a blend of stability and ease of installation. Here’s how it works:
- Crushed Limestone Base: Start with a layer of crushed limestone for stability. Compact it thoroughly.
- Builder’s Sand: Add a layer of builder’s sand on top. This allows for easy adjustments of the flagstones.
- Polymer Sand for Joints: After laying the stones, fill the gaps with polymer sand. When activated with water, it hardens, providing a firm hold and preventing weed growth.
This method is great for those looking for a balance between flexibility and durability.
Mortar Method
For a more permanent solution, the mortar method is the way to go:
- Mixing Mortar: Prepare a batch of mortar, following the manufacturer’s instructions. Spread a 1-inch layer of mortar on your base.
- Laying Stones: Set the stones into the mortar, starting with larger pieces. Use a rubber mallet to tap them into place, ensuring they are level.
- Filling Joints: Once the stones are set, fill the joints with mortar using a pointing trowel. Clean any excess before it dries.
This method provides a solid, long-lasting patio that can withstand heavy use.
Each method has its own advantages, so choose based on your preferences and the specific needs of your outdoor space. With careful planning and execution, your DIY flagstone patio installation will be a success, changing your yard into a beautiful retreat.
Tools and Materials Needed
Starting on a DIY flagstone patio installation requires some essential tools and materials. Here’s what you’ll need to get started:
Tools
- Tape Measure: Accuracy is key. Use a tape measure to outline your patio’s dimensions and ensure precise stone placement.
- Stakes: These are used to mark the corners of your patio. Drive them into the ground about 2 feet beyond the perimeter to hold your layout lines.
- Mason’s Line: Tie mason’s line between stakes to create a clear outline of your patio. This helps keep your layout square and guides your excavation.
- Hand Tamp or Plate Compactor: Compact the gravel base to create a stable foundation. A hand tamp is sufficient for smaller areas, while a plate compactor is ideal for larger spaces.
- Carpenter’s Level: Ensures that your stones are laid evenly. This tool is crucial for creating a smooth, level surface.
Materials
- Compactible Gravel: Forms the base layer of your patio. It provides stability and aids drainage. Spread the gravel in 2-inch layers, compacting each layer thoroughly.
- Decomposed Granite (DG): Acts as a leveling agent between the gravel base and flagstones. It helps to even out the surface and provides additional drainage.
- Flagstone: The star of your patio. Choose stones that are at least 1-1/2 inches thick for durability. Flagstones come in various shapes and colors, allowing you to create a unique design.
Average costs for flagstone range widely, from $1,400 to $4,500 per pallet, based on internet data.
With these tools and materials in hand, you’re well-equipped to tackle your flagstone patio project. Next, we’ll dive into a step-by-step guide to help you bring your vision to life.
Step-by-Step Guide to DIY Flagstone Patio Installation
Creating a DIY flagstone patio is an exciting project and can transform your outdoor space. Follow these simple steps to get started:
1. Marking Patio Edges
Start by marking the boundaries of your patio. Use stakes and mason’s line to outline the area. Make sure the lines are tight and square. This will be your guide for excavation and stone placement.
2. Excavating the Area
Dig out the area within the marked lines to a depth of about 8 to 9 inches. This depth includes space for a gravel base, decomposed granite (DG), and the flagstones themselves. Wear safety goggles and gloves for protection.
3. Installing the Gravel Base
Add a 4-inch layer of compactible gravel to the excavated area. Spread it evenly and use a hand tamp or plate compactor to pack it down firmly. This layer ensures stability and helps with drainage.
4. Leveling Stones
Spread a 1-inch layer of decomposed granite (DG) over the compacted gravel. Use a rake to level it out. The DG acts as a leveling agent and helps keep the stones in place. Lightly dampen and compact the DG to create a smooth surface.
5. Placing and Leveling Flagstones
Begin laying your flagstones from the outer edges, working toward the center. Use larger stones for the perimeter to lock in the smaller ones. Adjust each stone with a rubber mallet and check with a carpenter’s level for evenness. You might need to add or remove DG under the stones to get them level.
6. Filling Gaps
Once all stones are in place, fill the gaps between them with decomposed granite or polymer sand. Use a broom to sweep the filler into the joints. Dampen the surface with a hose to help the filler settle and lock the stones in place.
By following these steps, you’ll create a beautiful and functional flagstone patio that improves your outdoor living space. Next, we’ll address some common questions about installing a flagstone patio yourself.
Frequently Asked Questions about DIY Flagstone Patio Installation
What do you put under a flagstone patio?
When building a DIY flagstone patio, the base layers you choose are crucial for stability and longevity. You typically start with a gravel layer. A 4-inch layer of compactible gravel is ideal. This provides a solid foundation and excellent drainage. On top of the gravel, you add a layer of decomposed granite (DG) or stone dust. This 1-inch layer helps level the stones and keeps them secure.
These materials ensure your patio will last for decades without shifting or settling.
Can I lay flagstone myself?
Yes, you can lay flagstone yourself, but be prepared for some physical labor. This project involves digging, lifting heavy stones, and precise placement. You’ll need basic tools like a shovel, rake, and a rubber mallet. Measuring tools like a tape measure and a level are essential for accuracy.
While it requires effort, many find the process rewarding. Plus, you’ll save on labor costs and gain a sense of accomplishment.
How do you prepare the ground for a flagstone patio?
Preparing the ground is a vital step in the DIY flagstone patio installation process. Start by removing any grass or vegetation from the area. Use a spade or flat nose shovel for this task. Once cleared, excavate the site to a depth of about 8 to 9 inches to accommodate the gravel and stone layers.
After excavation, ensure the ground is level. Use a rake to smooth the surface, checking with a level frequently. Proper preparation sets the stage for a successful patio that’s both beautiful and durable.
By understanding these key aspects, you’ll be well-equipped to tackle your flagstone patio project with confidence. Next, we’ll wrap up with some final thoughts on changing your outdoor spaces.
Conclusion
At Nehemias Landscaping & Construction, we believe that a well-designed outdoor space can transform the way you live. Our focus on quality craftsmanship ensures that every flagstone patio we help create is not just a project, but a beautiful addition to your home. Whether you’re tackling a DIY flagstone patio installation or seeking professional assistance, our team is ready to guide you through every step.
Imagine stepping out into your backyard, where a stunning flagstone patio awaits, seamlessly blending with the natural beauty of your landscape. This is more than just a patio—it’s a space for relaxation, entertainment, and creating lasting memories with family and friends.
Our commitment to excellence means we use only the best materials and techniques, ensuring your patio stands the test of time. With our expertise, we help you steer choices from patio placement and stone selection to the final touches that make your outdoor area uniquely yours.
Ready to start on your flagstone patio trip? Let us help you bring your vision to life. Visit our Flagstone Patio Installation page to learn more about our services and how we can assist you in changing your outdoor space into a functional and beautiful retreat.
At Nehemias Landscaping & Construction, we’re not just building patios—we’re enhancing lifestyles. Contact us today to start your journey toward a stunning outdoor change.