Brick Stairs Installation: Top 3 Easy Steps in 2025
Brick Stairs Installation can significantly boost your home’s curb appeal while providing a sturdy and lasting access route. If you’re eager to learn a quick overview of the installation process, here’s what you need to do:
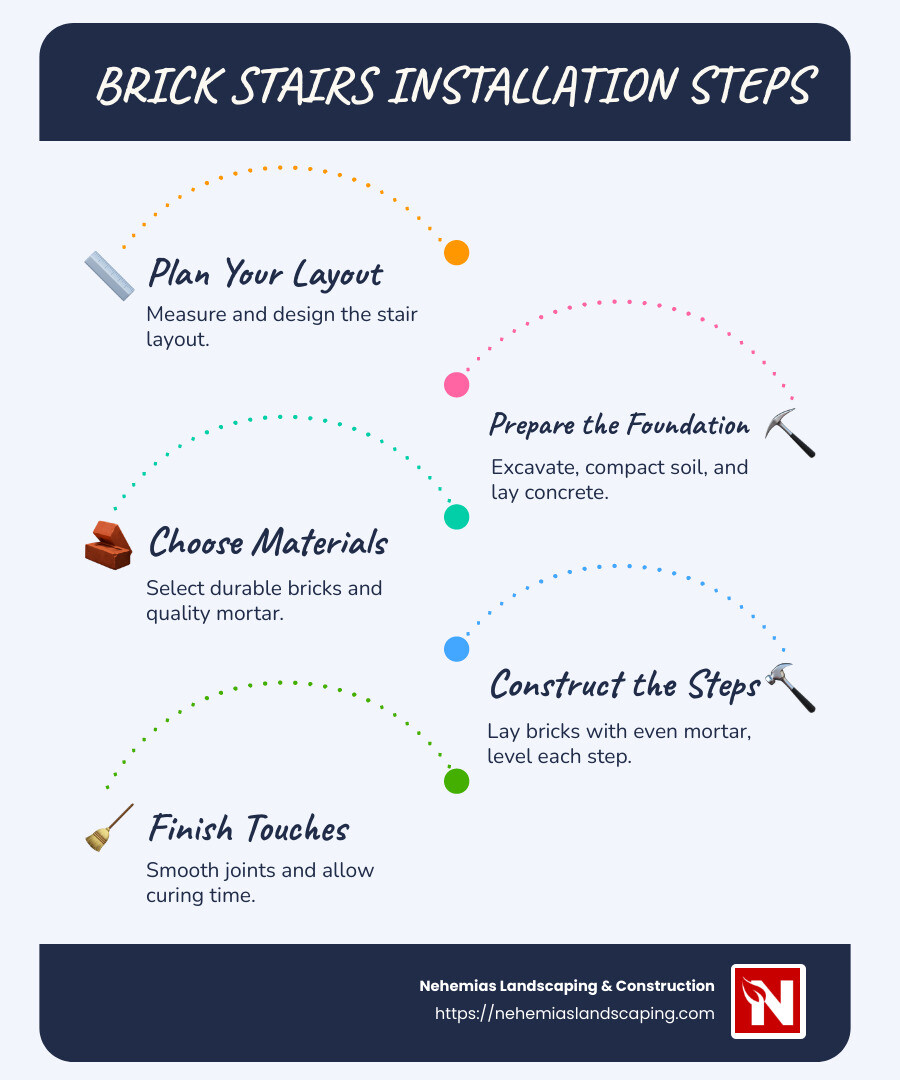
- Plan Your Layout: Measure and design the stair layout.
- Prepare the Foundation: Excavate, compact the soil, and lay a concrete layer.
- Choose Materials: Opt for durable bricks and quality mortar.
- Construct the Steps: Lay bricks with even mortar and level each step.
- Finish Touches: Smooth joints and allow for curing before use.
Whether leading to a garden or a porch, well-crafted brick stairs serve a functional purpose and showcase a sophisticated aesthetic. By carefully executing each step, even a DIY enthusiast can transform their outdoor space, enhancing the property’s appeal. Follow our straightforward guide to tackle this rewarding project and increase your home’s value.
Simple Brick Stairs Installation glossary:
– how to install handrail on brick steps
– how to install railing on brick stairs
– install vinyl railing on brick steps
Preparing for Brick Stairs Installation
Before diving into the Brick Stairs Installation, gather the right tools and materials and set up a sturdy framework. This preparation is key to ensuring your stairs are both beautiful and durable.
Tools and Materials Needed
Here’s a list of essential tools and materials you’ll need:
- Hammer: For nailing the wooden framework.
- Mason’s Trowel: To apply and smooth the mortar.
- Level: Ensures each step is even and aligned.
- Mortar: Type M mortar is recommended for its strength and durability.
- Bricks: Choose durable clay bricks that match your home’s aesthetic.
Make sure to have all these items ready before you start. Proper preparation saves time and helps avoid unnecessary interruptions during the project.
Building a Wooden Framework
A solid wooden framework is crucial for supporting your brick stairs during construction. This framework will guide the shape and structure of your stairs.
- Gather Materials:
- Use 2×4-inch lumber for the framework’s support.
- 3/4-inch plywood is ideal for creating the forms that will shape each step.
- Construct the Framework:
- Cut the 2x4s to the desired height of your stairs.
- Assemble them into a rectangular frame that outlines the stair’s perimeter.
- Attach the 3/4-inch plywood to the inside of the frame to form the risers and treads.
- Ensure Stability:
- Use a level to check that the framework is straight and even.
- Secure the framework firmly to the ground to prevent movement during construction.
By carefully setting up this wooden framework, you provide a reliable template for laying your bricks. This step is crucial for achieving a professional finish and ensuring the longevity of your brick stairs.
With your tools, materials, and framework in place, you’re now ready to move on to the next phase: applying mortar and starting the brickwork.
Step-by-Step Guide to Brick Stairs Installation
Applying Mortar
Starting with the mortar is crucial for the stability of your brick stairs. Here’s how to do it right:
- Prepare the Mortar Bed:
- Mix your Type M mortar following the mix ratio of 1 part Portland cement, 1/4 part lime, and 3 parts sand. This mix is strong enough for load-bearing structures.
- Use a screed to spread a 3/8-inch thick layer of mortar evenly across the tread. Ensure the surface is smooth and level.
- Using a Mason’s Trowel:
- Apply the mortar with a mason’s trowel, ensuring an even spread. This helps in securing the bricks firmly in place.
- Work in small sections to prevent the mortar from drying out before the bricks are laid.
Laying the First Brick Step
The first row of bricks sets the tone for the entire staircase, so precision is key:
- Place the Riser Bricks:
- Start by laying the riser bricks at the back of the step. Ensure they are aligned and level. Use the trowel handle to tap them gently into place.
- Add the Tread Bricks:
- Lay the tread bricks on top of the mortar bed. Use 1/2- or 3/8-inch plywood spacers to maintain even spacing between bricks.
- Check for level with each brick laid. Adjust as necessary to keep the surface even.
- Leveling:
- Continuously check the level of each step using a level. Adjust the bricks by tapping them lightly with the trowel handle.
- Remove spacers once the bricks are set and ensure the surface remains smooth and even.
Completing the Brick Stairs
Finish your brick stairs by focusing on the joints and allowing proper curing time:
- Filling Mortar Joints:
- Once the bricks are laid and the mortar has set, mix a fresh batch of mortar for the joints.
- Use a mortar bag to fill the joints completely. This ensures no gaps are left, preventing water intrusion.
- Smoothing the Joints:
- When the mortar begins to firm up, use a jointing tool to smooth the horizontal joints first, followed by the vertical ones. This step helps direct rainwater off the stairs, reducing erosion.
- Curing Time:
- Allow the mortar to cure for five to seven days. During this time, lightly mist the stairs with water to prevent cracks from forming due to rapid drying.
By following these steps, you ensure a durable and professional-looking finish for your Brick Stairs Installation. Properly installed brick stairs not only improve the visual appeal of your home but also provide a safe and sturdy access point.

Cost Considerations for Brick Stairs Installation
When planning your Brick Stairs Installation, understanding the cost is crucial. Prices can vary based on several factors, including materials, labor, and project complexity. Here’s a breakdown of what you might expect:
Material Costs
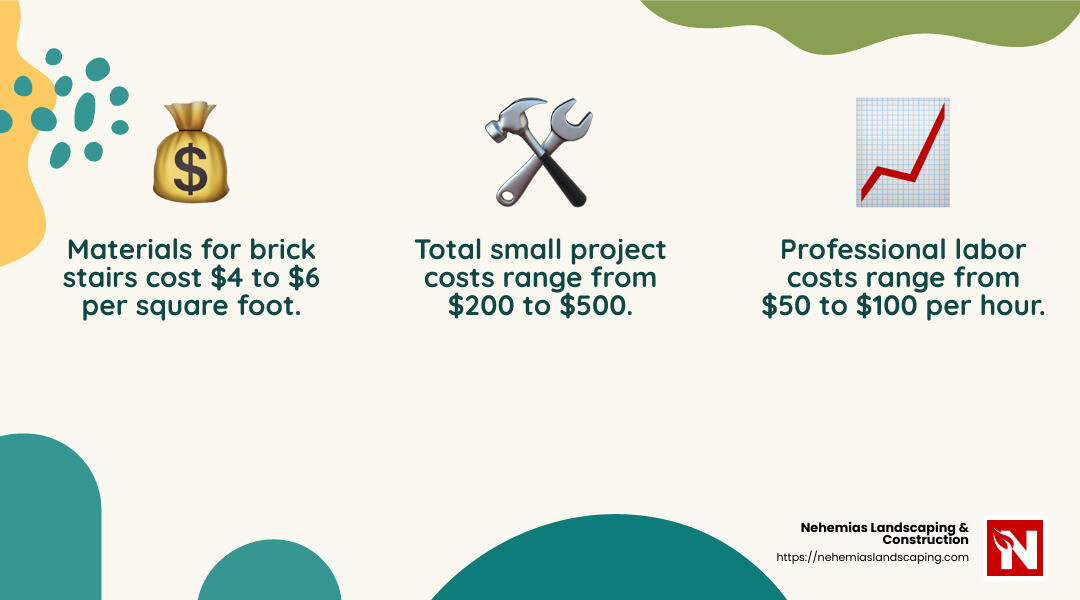
The materials for building brick stairs generally range between $4 to $12 per square foot. This includes bricks, mortar, concrete, and sub-base materials. Investing in quality materials is vital as it ensures durability and reduces maintenance costs in the long run.
Labor Costs
Hiring professionals for your project involves labor costs, often ranging from $50 to $150 per hour. These costs depend on your location and the complexity of the installation. While doing it yourself might save on labor, professional installation can ensure a higher-quality finish.
Total Project Costs
For a small set of stairs (two steps, about two feet wide), the total cost—including both materials and labor—can range from $200 to $600 on average. However, larger or more complex projects can significantly increase this cost. It’s always best to get a detailed estimate from a professional to understand the full scope of the expenses.
Additional Considerations
- Permits and Inspections: Depending on your location, you may need permits for your project. Check with local building codes to avoid unexpected fees.
- Maintenance Costs: Regular maintenance, such as cleaning and sealing, can extend the life of your brick stairs and should be factored into your budget.
These figures are average costs based on internet data and not specific to Nehemias Landscaping & Construction. Always consult with a local expert to get the most accurate estimate for your specific project needs.
Understanding these cost considerations will help you budget effectively for your Brick Stairs Installation and ensure you achieve the best results for your investment.
Frequently Asked Questions about Brick Stairs Installation
What is the best mortar for brick stairs?
For Brick Stairs Installation, the best choice is Type M mortar. This type of mortar has a compressive strength of 2500 psi, making it ideal for load-bearing structures like stairs. It consists of a mix ratio of 1 part Portland cement, 1/4 part lime, and 3 parts sand. Portland cement is crucial here because it provides the binding properties needed to ensure the stairs’ durability and strength.
Tip: Always mix your mortar thoroughly to achieve the right consistency and strength. Use high-quality Portland cement to prevent cracks and ensure longevity.
How long does it take to install brick stairs?
The time required for Brick Stairs Installation can vary based on the complexity of the design and your experience level. On average, the working time to build a basic set of stairs might take about 1 to 2 days, but the total time, including curing, can extend to 1 week.
Curing Time: After laying the bricks, it’s important to let the mortar cure for five to seven days. During this period, keep the mortar moist by lightly misting it with water to prevent cracking.
Do I need a permit for brick stairs installation?
Yes, you may need a permit for your Brick Stairs Installation, depending on your local building codes. Permits are often required for projects that alter the footprint of your home or involve structural changes. To avoid any legal issues or delays, it’s crucial to check with your local municipal office about the permitting process.
Important: Failing to obtain the proper permits can stall your project or complicate the sale of your home. Always ensure that all necessary permits are in place before starting your project.
Conclusion
Changing your outdoor space with Brick Stairs Installation is more than just adding functionality—it’s about enhancing the beauty and value of your home. At Nehemias Landscaping & Construction, we specialize in turning your vision into reality with exceptional craftsmanship and attention to detail.
Our team in Essex County, Massachusetts, is committed to providing quality services at affordable prices. We understand that every project is unique, and we tailor our approach to meet your specific needs. Whether you’re looking to add curb appeal or create a more accessible entryway, our skilled professionals are here to guide you from the initial design to the final installation.
Why Choose Us?
- Expertise: With a dedicated team of experienced professionals, we ensure that your project is completed to the highest standards.
- Affordability: We offer competitive pricing without compromising on quality, changing your outdoor spaces into beautiful, functional areas.
- Local Knowledge: Serving various locations in Essex County, we are familiar with local building codes and regulations, ensuring a smooth and compliant installation process.
By choosing Nehemias Landscaping & Construction, you’re not just getting a service; you’re investing in a partnership that prioritizes your satisfaction and the longevity of your project. Let us help you create an outdoor space that you’ll love for years to come. Contact us today to start your change journey!