Driveway paver installation can transform your home’s entrance from ordinary to extraordinary. It improves not only the aesthetics but also the functionality and curb appeal of your property. Whether you prefer the classic charm of cobblestone or the sleek look of smooth concrete, pavers provide unparalleled flexibility to match your home’s style.
- Boost Curb Appeal: Choose from a wide range of colors, shapes, and textures.
- Improve Functionality: Create a durable and low-maintenance surface.
- Increase Property Value: Complement your landscaping beautifully.
Investing in driveway paver installation is a savvy choice for suburban homeowners looking to balance style and practicality. Extend your home’s aesthetic to the outdoors with a driveway that stands the test of time and weather while keeping its fresh appeal. Let your driveway be more than just a means to an end—it’s an opportunity to make a lasting first impression.

Explore more about Driveway paver installation:
– Hardscape maintenance services
– Professional masonry services
Benefits of Driveway Paver Installation
Driveway paver installation offers a host of benefits that make it a top choice for homeowners. Let’s explore why pavers are a fantastic option:
Durability
One of the standout features of pavers is their incredible durability. Unlike other materials, pavers can handle harsh weather and heavy loads without cracking. They are designed to last for decades, making them a reliable choice for any driveway.
Consider this: a well-installed paver driveway can withstand the weight of multiple vehicles and the freeze-thaw cycles of winter, ensuring your driveway remains intact year-round.
Aesthetics
Driveway pavers are more than just functional; they’re a statement. With options like cobblestone, smooth concrete, and natural stone, you can create a driveway that perfectly matches your home’s style. The variety of colors, shapes, and textures available allows for endless design possibilities.
Imagine changing a bland driveway into a striking feature that improves your home’s curb appeal. A well-chosen paver design can turn heads and add character to any property.
Low Maintenance
Paver driveways are incredibly low maintenance. A simple sweep or rinse is often enough to keep them looking pristine. Unlike asphalt, which can fade and crack over time, pavers retain their appearance with minimal effort.
In the winter, pavers can be easily cleared of snow and ice using calcium chloride, which helps maintain their condition and extends their lifespan.
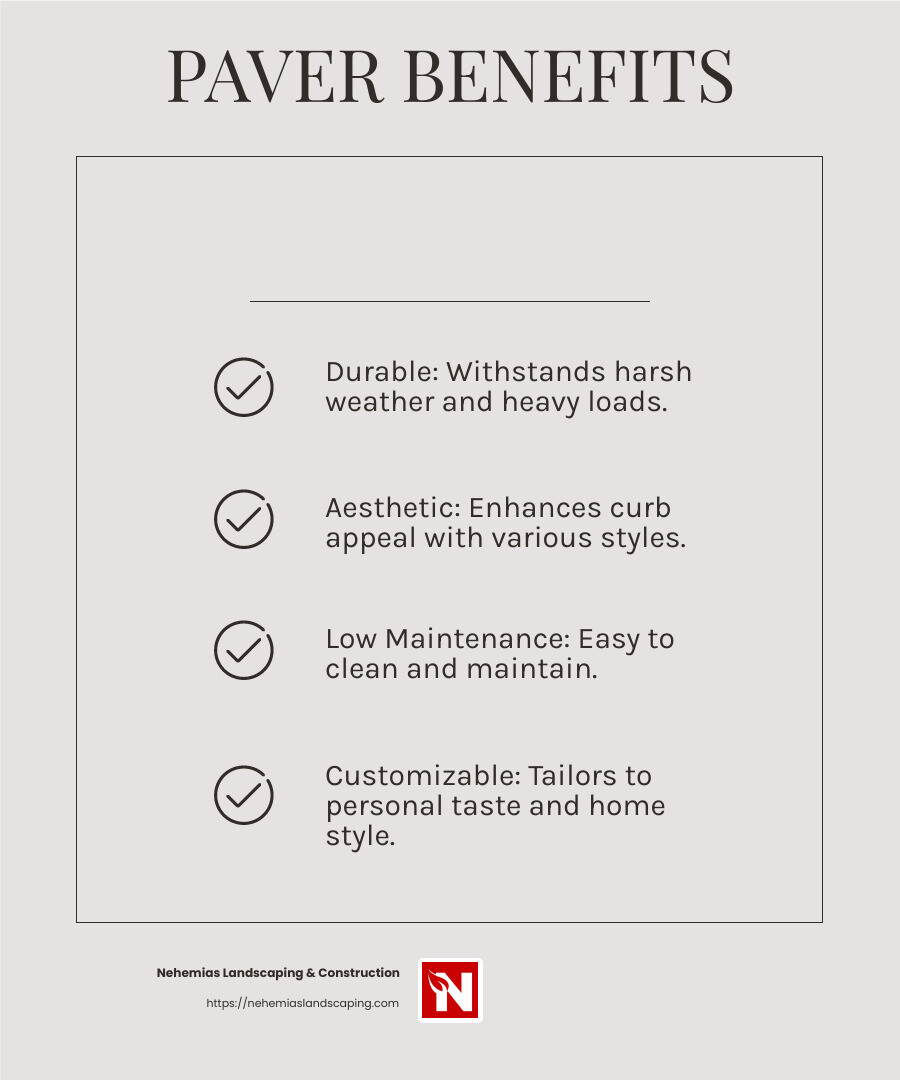
Customization
Customization is where pavers truly shine. You can design a driveway that reflects your personal taste and complements your home’s architecture. Whether you want a classic look or something modern and bold, pavers offer the flexibility to achieve your vision.
This level of personalization not only improves the aesthetic appeal but also increases the value of your property. A customized driveway can be a significant selling point for potential buyers.
In summary, driveway paver installation combines durability, aesthetics, low maintenance, and customization to deliver a driveway that’s both beautiful and practical. It’s an investment that pays off in style, resilience, and property value.
Preparing for Driveway Paver Installation
Before diving into the actual driveway paver installation, thorough preparation is key. This ensures your driveway is not only beautiful but also long-lasting. Let’s break down the essential steps involved:
Excavation
The first step is to excavate the area where your driveway will be. Dig down to a depth that accommodates both the base materials and the pavers themselves—typically 7-9 inches below the final desired surface level.
Tip: Always locate and mark underground utilities before starting to dig. This prevents any accidental damage during the excavation process.
Subsoil
Once excavated, you’ll expose the subsoil. This layer is often uneven and may contain large stones or roots. It’s crucial to remove these obstacles to create a stable, even surface for the base materials.
Compaction
Compacting the subsoil is a critical step. Use a mechanical compactor to increase the soil’s density, which helps prevent future settling and shifting of the pavers. This step ensures the stability of your driveway for years to come.
DriveGrid
Incorporating a DriveGrid can greatly improve the strength of your driveway. This geogrid material distributes loads evenly and prevents rutting, extending the life of your driveway. Ensure that each segment of DriveGrid overlaps by at least 12 inches for maximum effectiveness.
Filter Fabric
Finally, add filter fabric along the sides of the excavated area. This fabric prevents the base materials from mixing with the surrounding soil, maintaining the integrity of the base. It also aids in drainage, crucial for avoiding water accumulation that can damage the driveway over time.
By carefully preparing your driveway site, you lay the groundwork for a successful and enduring driveway paver installation. These steps ensure that your driveway not only looks great but performs well under everyday use.
Choosing the Right Materials for Your Driveway
Selecting the right materials for your driveway is crucial for both aesthetics and durability. Here’s a closer look at some popular options: brick, concrete, stone, and permeable pavers.
Brick
Brick pavers offer a classic, timeless look. They’re incredibly durable and can handle heavy loads, making them ideal for driveways. Available in various colors and patterns, brick pavers can add unique charm to your home. However, they might require a higher initial investment compared to other materials. Their durability and classic appeal often make them worth the cost.
Concrete
Concrete pavers are known for their versatility and affordability. They come in many shapes, sizes, and colors, allowing for a wide range of design possibilities. Concrete pavers are also very durable, especially in areas with extreme weather conditions. They handle freezing and thawing cycles well, which reduces the risk of cracking. Maintenance is simple, requiring just occasional rinsing and sweeping to keep them looking fresh.
Stone
For a natural and neat appearance, stone pavers are an excellent choice. Materials like granite, limestone, and slate offer unique textures and colors. Stone pavers are extremely durable and can last for decades if properly maintained. However, they tend to be more expensive than brick and concrete. Despite the higher cost, their aesthetic and longevity can be a valuable investment for your driveway.
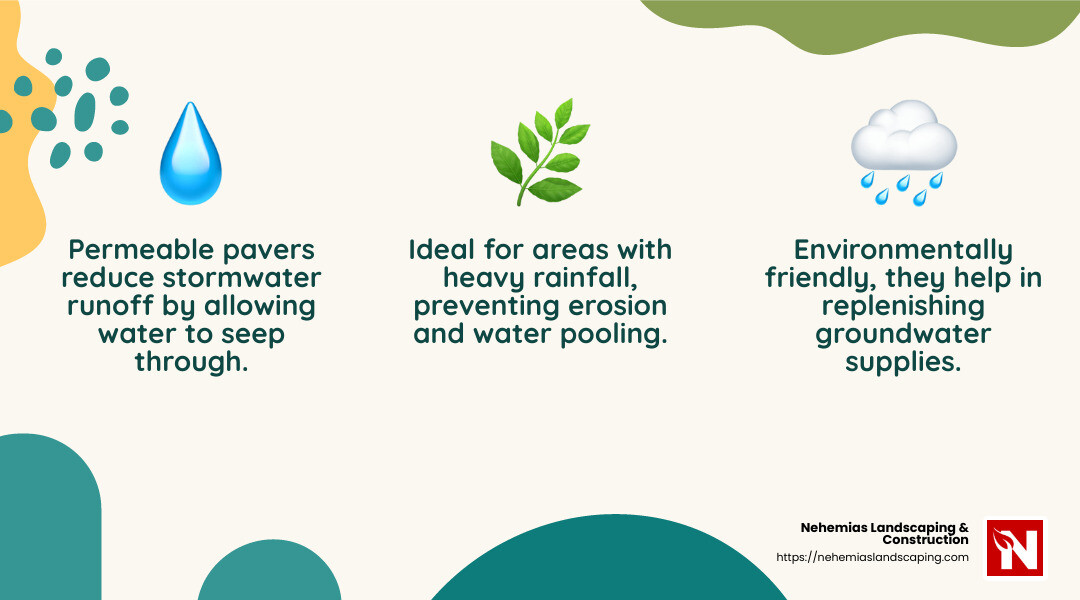
Permeable Options
Permeable pavers are an environmentally friendly choice. They allow water to seep through the gaps between the pavers, reducing runoff and preventing erosion. This feature is particularly beneficial in areas with heavy rainfall or where water conservation is important. Made from materials like concrete and stone, permeable pavers are as durable as their traditional counterparts. They help manage stormwater and replenish groundwater supplies, making them a sustainable option.
When choosing materials, consider factors like climate, load-bearing needs, maintenance, and your home’s architectural style. The right choice improves both the functionality and visual appeal of your driveway, ensuring it stands the test of time.
With the materials chosen, you’re ready to move on to the step-by-step guide to driveway paver installation, where we’ll cover planning, setting the base, and securing the pavers for a professional finish.
Step-by-Step Guide to Driveway Paver Installation
Creating a beautiful and durable driveway involves careful planning and execution. Here’s your comprehensive guide to driveway paver installation:
Planning
Start with a clear plan. Decide on the paver style, color, and pattern that suits your home. Measure your driveway area to estimate the number of pavers needed. Sketch your design, including any curves or unique features.
Pro Tip: Consider the climate. If you live in a cold area, think about installing a snow-melting system under the pavers. It works like radiant floor heating, keeping your driveway clear of snow.
Setting the Base
A strong base is crucial for a long-lasting driveway. Here’s how to do it:
- Excavate the Site: Dig about 11 inches deep to make room for the base layers.
- Check for Utilities: Contact local services to mark any underground utilities before digging.
- Layer with Gravel: Fill the excavated area with gravel and compact it. This layer should be about 6 inches deep. Add water to help with compaction.
- Add Sand Layer: Top the gravel with a smooth layer of sand. This will help level the surface for your pavers.
Laying Pavers
With the base set, it’s time to lay the pavers:
- Start from the Corner: Begin at the lowest corner of the driveway. Lay pavers tightly together and against the edges.
- Cut to Fit: Use a concrete saw or paver splitter to cut pavers for edges and curves.
- Check Alignment: Regularly check that the pavers are aligned and square to the pattern.
Securing Pavers
Once all pavers are in place, secure them to ensure stability:
- Fill Joints: Spread fine sand over the pavers and sweep it into the joints. This locks the pavers in place.
- Compact the Surface: Use a plate compactor to press the pavers firmly into the sand base. This step is vital for preventing shifting.
- Final Touches: Refill any joints with sand that may have settled during compaction. Sweep the surface clean.
And there you have it! By following these steps, you’ll achieve a sturdy and attractive driveway that improves your home’s curb appeal. Now that your pavers are secure, you might have a few questions about maintenance and cost. Let’s explore some frequently asked questions about driveway paver installation.
Frequently Asked Questions about Driveway Paver Installation
How do you prepare a driveway for pavers?
To get your driveway ready for pavers, start with a clean slate. Remove all debris, including grass, roots, and rocks. This ensures a stable foundation. Next, dig down about 11 inches to make room for the base layers. This depth helps accommodate the gravel and sand layers needed for a solid base.
Lay a gravel base about 6 inches deep. This provides drainage and stability. Use a plate compactor to compact the gravel, adding water to help it settle. Finally, add a 1-inch layer of sand on top of the gravel. This sand layer helps level the surface for the pavers.
Are pavers cheaper than concrete for a driveway?
When comparing costs, concrete might seem cheaper upfront. It often costs less to pour concrete than to install pavers because the material and labor costs are typically lower. However, think about the long-term value. Pavers are more durable and easier to repair. If a paver gets damaged, you can replace it individually. Concrete, on the other hand, may crack over time and require more expensive repairs.
Pavers also offer better aesthetics and can increase your property value. So, while the initial cost might be higher, pavers often prove more cost-effective in the long run.
How deep should a paver base be for a driveway?
The depth of your paver base is crucial for a stable driveway. Generally, you want to aim for a base depth of about 11 inches. This includes 6 inches of compacted gravel and 1 inch of sand. The remaining depth accounts for the thickness of the pavers themselves.
Soil conditions can affect this depth. If your soil is sandy or loose, you might need a deeper base to ensure stability. Always consider local soil conditions and consult with experts if you’re unsure. A well-prepared base is key to preventing future settling and maintaining your driveway’s durability.
Conclusion
At Nehemias Landscaping & Construction, we believe that a well-designed driveway can transform the look and feel of your home. Our driveway paver installation services offer more than just functionality—they bring beauty and value to your property. With our commitment to quality and detail, we ensure each project is custom to your specific needs and vision.
Our skilled team in Essex County, Massachusetts, takes pride in providing top-notch hardscaping services. We work closely with you from start to finish, ensuring the final result reflects your style and improves your outdoor space. Whether you’re looking to boost curb appeal or need a durable driveway that stands the test of time, we’ve got you covered.
Choosing Nehemias Landscaping & Construction means investing in a lasting change for your home. Our expertise in driveway paver installation ensures a durable, aesthetically pleasing result that will serve you well for years to come. Ready to transform your outdoor space? Contact us today and let us bring your driveway dreams to life!